Amazon Elastic Container Service (ECS) is Amazon’s Docker container orchestration system. From the Amazon ECS website:
Amazon Elastic Container Service (ECS) is a highly scalable, high-performance container orchestration service that supports Docker containers and allows you to easily run and scale containerized applications on AWS. Amazon ECS eliminates the need for you to install and operate your own container orchestration software, manage and scale a cluster of virtual machines, or schedule containers on those virtual machines.
We support an Amazon Web Services built-in integration that allows us to collect useful high-level metrics about ECS using the AWS CloudWatch API, but that’s only part of your setup.
Overview
The integration basics are covered in our AWS ECS Integration page.
This page provides detailed steps on how to install and configure the ECS integration either by adding a Telegraf agent container to the task definition or by creating an AWS Fargate task definition. After you complete these steps, the integration provides:
- Monitoring of important CloudWatch metrics related to Amazon ECS.
- Monitoring of detailed metrics about individual containers, services, and clusters running in your AWS ECS environment.
Prerequisites
- Access to Amazon Web Services.
- Access to a Wavefront proxy - Preferably running in AWS or a place accessible to your ECS instances.
- AWS integration - Parts of the ECS integration use CloudWatch metrics, which can be acquired by configuring the AWS integration.
Configure the AWS Integration
Set up the AWS integration. This allows us to collect useful high-level metrics about ECS using the AWS CloudWatch API.
Note: To ensure that dashboards display correctly, use only the default EC2 instance name for the ECS cluster.
Create AWS ECS Fargate Task Definition for VMware Aria Operations for Applications
You can set up VMware Aria Operations for Applications to collect the data from AWS Fargate containers. These steps create an ECS task definition that ensures the VMware Aria Operations for Applications Collector automatically runs on each Fargate instance in your ECS cluster.
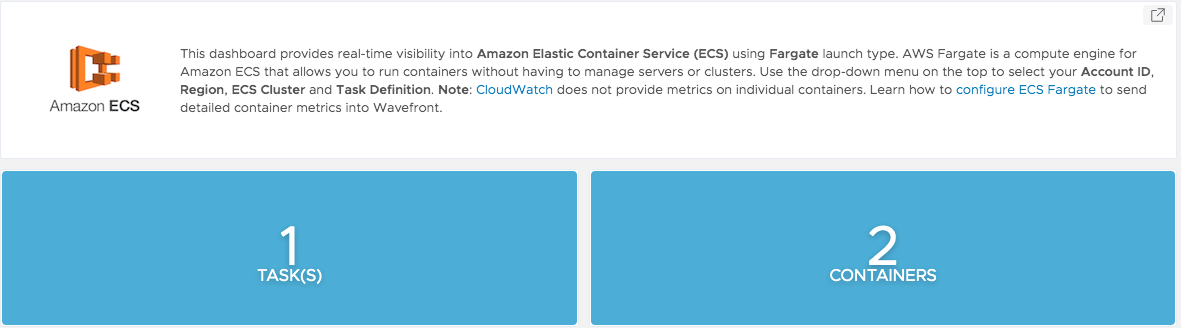
After you’ve performed the setup, you can view and examine the data in our AWS Fargate dashboard in your product instance. See the screenshot at the bottom of this page.
- Within AWS Services, navigate to ECS.
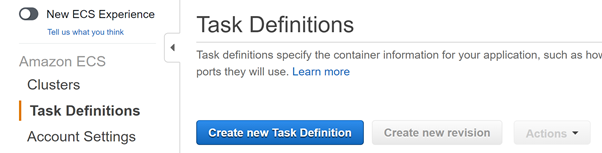
- Click Task Definitions, then Create new Task Definition.
-
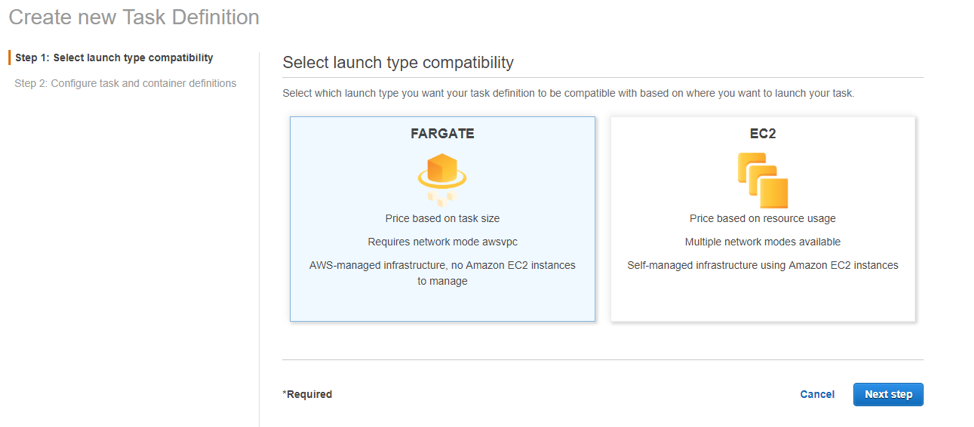
Select the Fargate launch type and click Next Step.
- Scroll to the bottom of the new Task Definition form and click Configure via JSON.
-
Delete the content and paste the following snippet into the JSON form field.
{ "family": "wavefront-task-def", "networkMode": "awsvpc", "containerDefinitions": [ { "name": "tomcat-example", "image": "tomcat:latest", "essential": true, "portMappings": [ { "hostPort": 8080, "protocol": "tcp", "containerPort": 8080 } ] }, { "name": "fargate-metrics-collector", "image": "wavefronthq/wavefront-fargate-collector:latest", "essential": true, "environment": [], "portMappings": [ { "hostPort": 8000, "protocol": "tcp", "containerPort": 8000 } ], "command": [ "-port=8000", "-storage_driver=wavefront", "-storage_driver_options=storage_driver_wf_proxy_host=YOUR_PROXY_ADDRESS storage_driver_wf_metric_port=PORT_NUMBER storage_driver_wf_metric_prefix=aws.fargate.ecs." ] } ], "requiresCompatibilities": [ "FARGATE" ], "cpu": "256", "memory": "512" } - In the JSON form, set the
storage_driver_wf_proxy_hostproperty to the proxy address. If you want to use a custom port, set thestorage_driver_wf_metric_portto the port number of your product instance and click Save. - Click Create at the bottom of the Task Definition form.
- After the task is created, click View Task Definition, select Actions > Run Task and specify the task information. Most fields are self-evident, here are a few.
- Cluster–Select the cluster on which your task has to run.
- Number of tasks–Select a number (minimum 1).
- Task Group (Optional)–Task group name for identifying a set of related tasks.
- Launch Type–Fargate
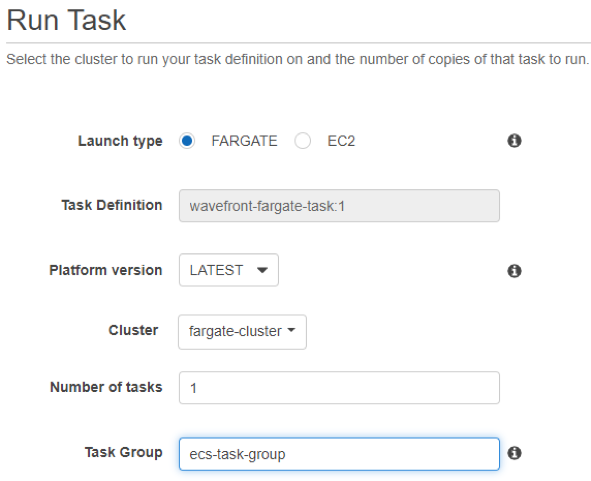
- Click Run Task.
Create an AWS ECS EC2 Task Definition for VMware Aria Operations for Applications
A Telegraf (telegraf-ecs) image enables VMware Aria Operations for Applications to monitor Amazon ECS service. The Telegraf container must run in the same Task as the workload it is inspecting. Below are the steps to create an example ECS task definition and run the Telegraf container along with other containers in the task. In the Telegraf container, the ECS input plugin is enabled to gather stats on running containers in a Task and the output plugin is enabled to send ECS metrics to VMware Aria Operations for Applications.
After you perform the setup, you can view and examine the data in the AWS ECS dashboard of your product instance. The screenshots at the bottom of this page show the AWS ECS dashboard.
- Within AWS Services, navigate to Elastic Container Service (ECS).
- Click Task Definitions, then click Create new Task Definition.
-
Select the EC2 launch type and click Next Step.

- Scroll to the bottom of the new Task Definition form and click the Configure via JSON button.
- Delete the content and paste the following snippet into the JSON form field.
{ "ipcMode": null, "executionRoleArn": "<create_new>", "containerDefinitions": [ { "dnsSearchDomains": null, "environmentFiles": [], "logConfiguration": null, "entryPoint": null, "portMappings": [ { "hostPort": "80", "protocol": "tcp", "containerPort": 8080 } ], "cpu": 512, "memory": 512, "image": "tomcat", "essential": true, "name": "Tomcat", "repositoryCredentials": { "credentialsParameter": "" } }, { "environmentFiles": [], "portMappings": [], "cpu": 1024, "environment": [ { "name": "ECS_CONTAINER_METADATA_ENDPOINT", "value": "" }, { "name": "WAVEFRONT_PROXY", "value": "" }, { "name": "WAVEFRONT_PROXY_PORT", "value": "2878" } ], "memory": 512, "image": "projects.registry.vmware.com/tanzu_observability/telegraf-ecs:latest", "essential": true, "name": "Telegraf", "repositoryCredentials": { "credentialsParameter": "" } } ], "memory": null, "taskRoleArn": "", "family": "Tomcat-Telegraf", "pidMode": null, "requiresCompatibilities": [ "EC2" ], "networkMode": "bridge", "volumes": [], "placementConstraints": [], "tags": [] } - In the JSON form, set the
WAVEFRONT_PROXYandWAVEFRONT_PROXY_PORTand click Save. - Click the Create button at the bottom of the Task Definition form.
- Select Actions > Run Task and specify the task information:

- From the Cluster drop-down menu, select the cluster on which your task has to run.
- Enter the number of tasks (minimum 1) of same definition you want to run.
- (Optional) Enter the Task Group name to identify a set of related tasks.
- Click Run Task.
NOTE: The task metadata endpoint is enabled by default on the Amazon ECS EC2 instance, based on the version of Amazon ECS container agent. The amazon-ecs-agent (though it is a container running on the host) is not present in the metadata/stats endpoints. To enforce the task metadata v2 endpoint, include the endpoint URL in the Task Definition:
{
    "name": "ECS_CONTAINER_METADATA_ENDPOINT",
    "value": "http://169.254.170.2"
}
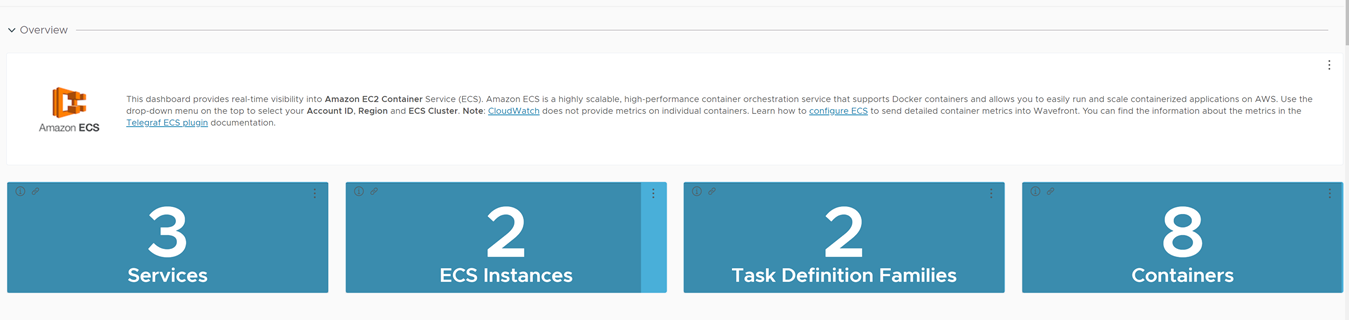
View ECS Container Metrics
You can view the ECS Container metrics on the dashboards we set up for the two different options.
Here’s a screenshot of the AWS ECS dashboard.
Here’s a screenshot of the AWS ECS Fargate dashboard.